
Learn how to install IIS in Windows 10. Internet Information Services (IIS) for Windows is a platform to manageable and serve Web services for hosting anything on the Web; web services such as like HTTP, FTP, ASP.NET and PHP as well. It requires server edition operating system to run and it is free.
We will be going though step-by-step procedure on how to install IIS in Windows 2019 Server edition. In a nutshell, here are the steps.
- Launch Server Manager
- Click on Add Roles and Features.
- Click On Next button.
- Select Role base or feature base installation
- Select the server (from the list)where you want to install the IIS.
- Put check mark in the Web Server IIS, and then click Next.
- Click Next 4 times.
- And finally click on Install.
Testing And Checking If IIS is working
There are three ways to check if your IIS is working.
1) Using Browser. Perform a quick test with the newly installed IIS, open your favorite browser and enter the IP address of your server. It should come up with a default IIS webpage denoting that you have successfully installed your IIS.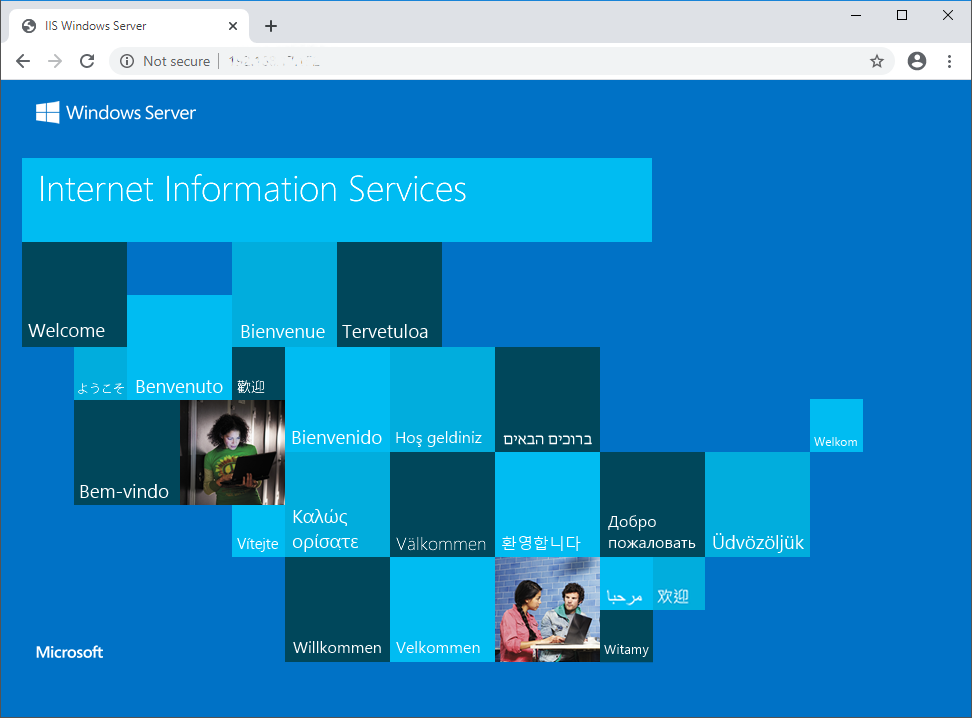
2) Using Command Prompt. Another way to check if you have the IIS installed and working in your system would be to go to your Windows Run tool (accessible via Start–Run), and then type inetmgr and press OK. If you get an IIS configuration screen, it indicates that the IIS is installed in your system.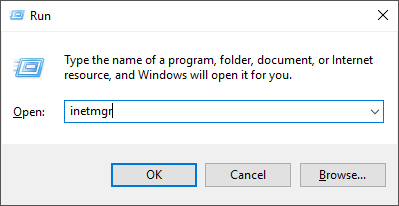
 Manager")
3) Using Control Panel. You can also check in Add Remove Programs (accessible via Windows Settings–Add Or Remove Program), Click Add Remove Windows Components and look for IIS in the list of installed components
I hope this short tutoial helps you.
Cheers!!!
Reference