
Learn how to install MetalLB Rancher Kubernetes cluster.
As of the date of this blog, Kubernetes does not offer an implementation of network load balancers for bare-metal clusters. Therefore, we have to use an extra application call MetalLB. MetalLB doesn’t come off the shelf with Rancher. You have to install it separatly. Here are the steps on how to install MetalLB in Rancher cluster.
A) Create A New MetalLB Namespace
1) Open your web browser, and launch Rancher.
2) Navigate your cluster, my cluster name for this demo is called “testcluster”.
3) Click on “Projects/Namespaces” from the menu, and then click on “Create Namespace”. Just as an orginzation structure, I will be creating a namespace for MetalLB in the “System” project, and that is where I will be creating all the namespace for all my pods as well.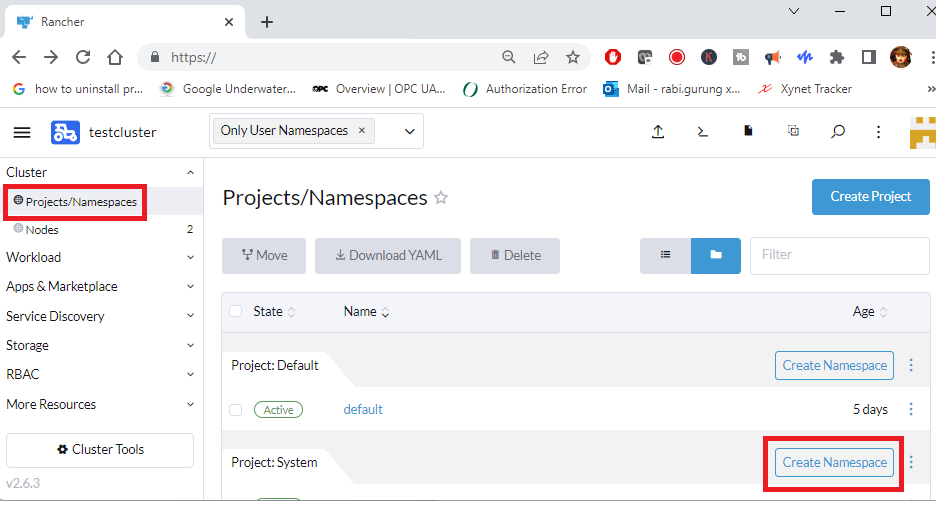
4) Enter a MetalLB namespace and a description.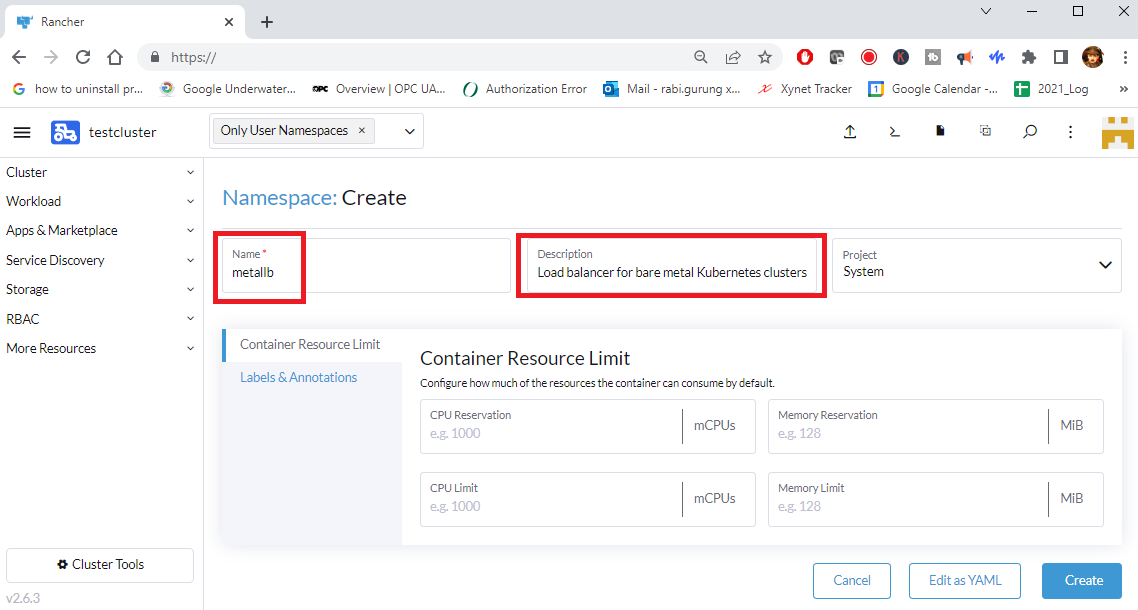
5) A new namespace for MetalLB will be created.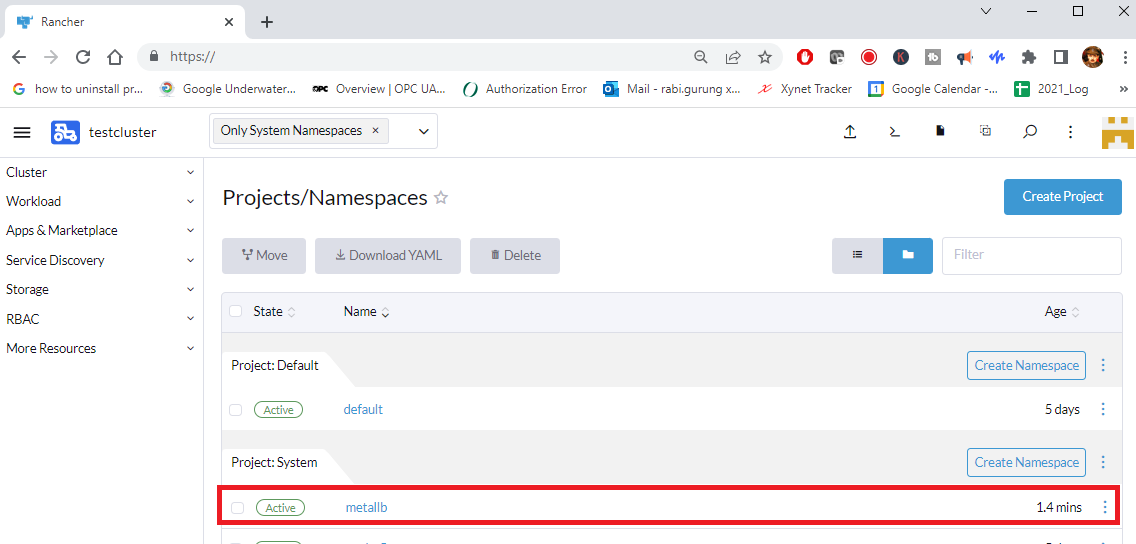
B) Install “Bitnami” Helm Repository
1) Open your web browser, and launch Rancher.
2) Navigate your cluster, my cluster name for this demo is called “testcluster”.
3) Click on App & Marketplace, followed by Repositories. Then click on Create button on the top right hand side of the webpage.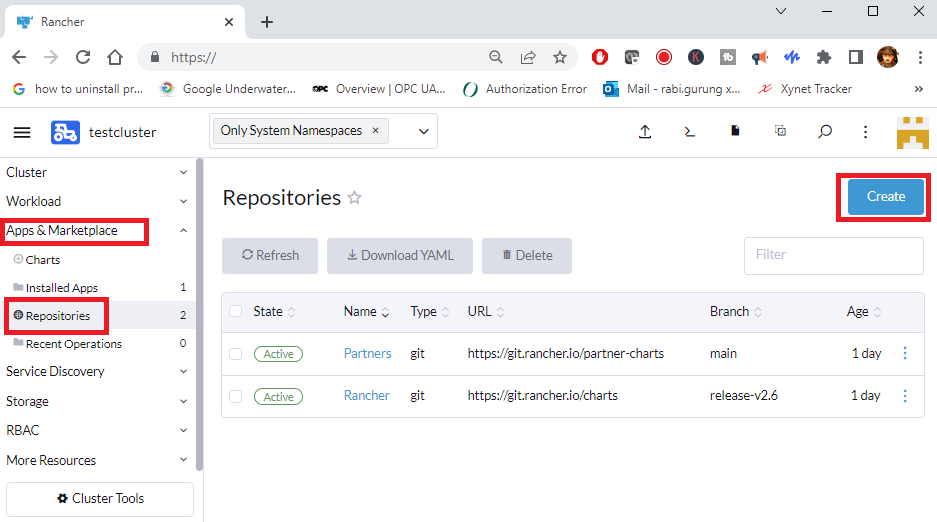
4) Give the repository a name. I have given it as bitnami. And the enter the following URL in the Index URL.https://charts.bitnami.com/bitnami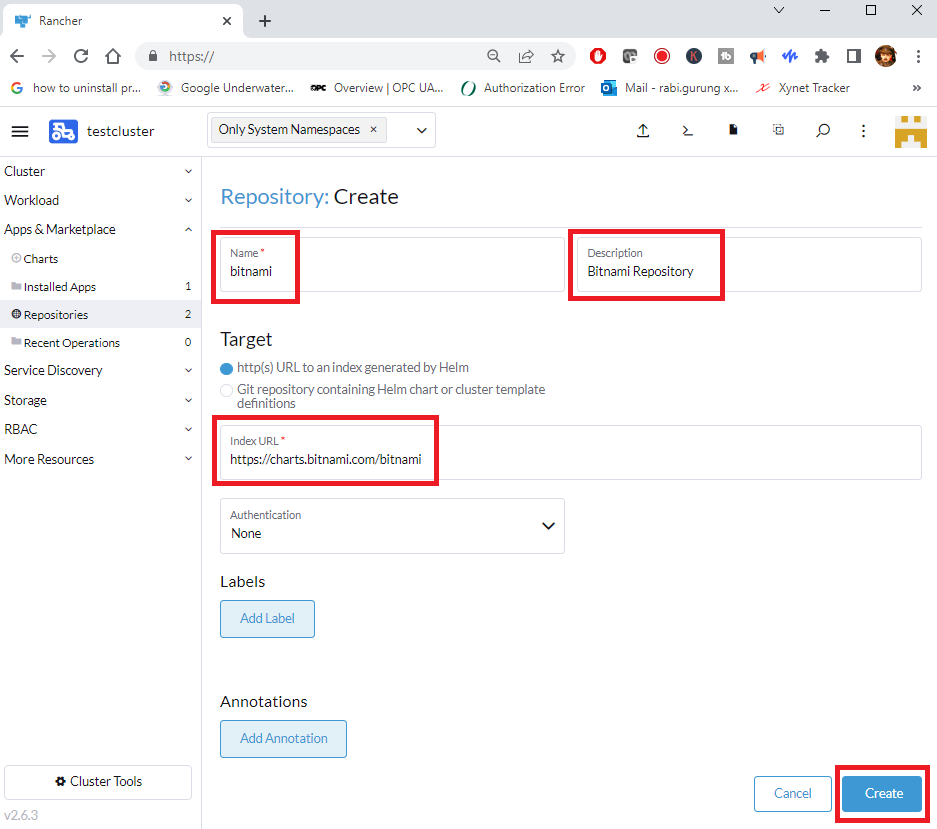
The state will show “In Progress” for a few seconds and the will show Active.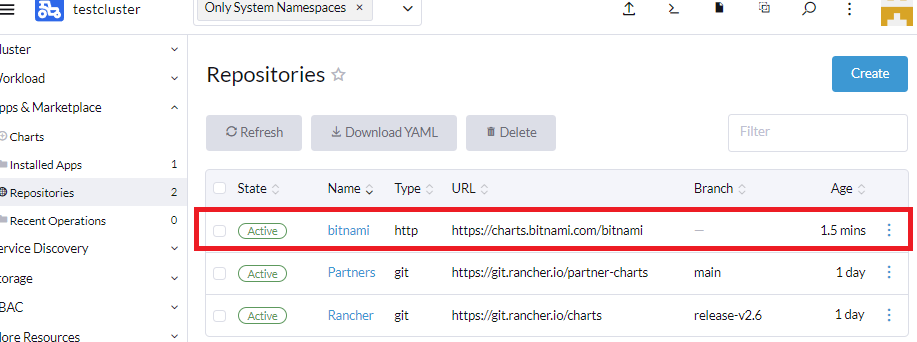
C) Install MetalLB
1) Open your web browser, and launch Rancher.
2) Navigate your cluster, my cluster name for this demo is called “testcluster”.
3) Click on App & Marketplace, followed by Charts. From the repositories pull down menu, select bitnami (the repository you created in Step B – Install “Bitnami” Helm Repository).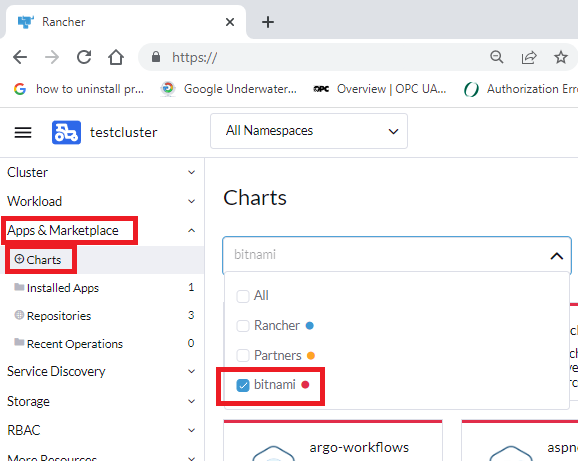
To make your search for MetalLB easier, enter the text MetalLB in the Filter (as shown below). Click on MetalLB chart.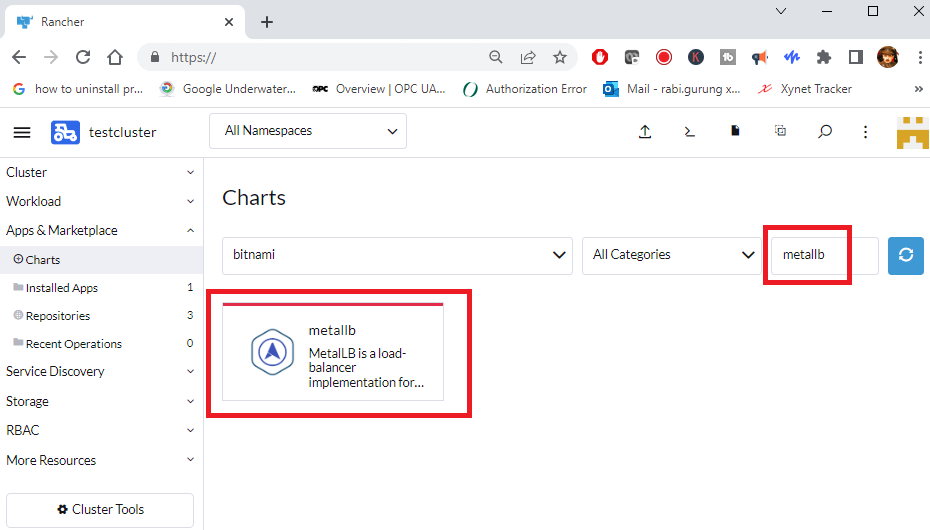
4) Click on Install (on the top right hand side of the webpage) to install the MetalLB.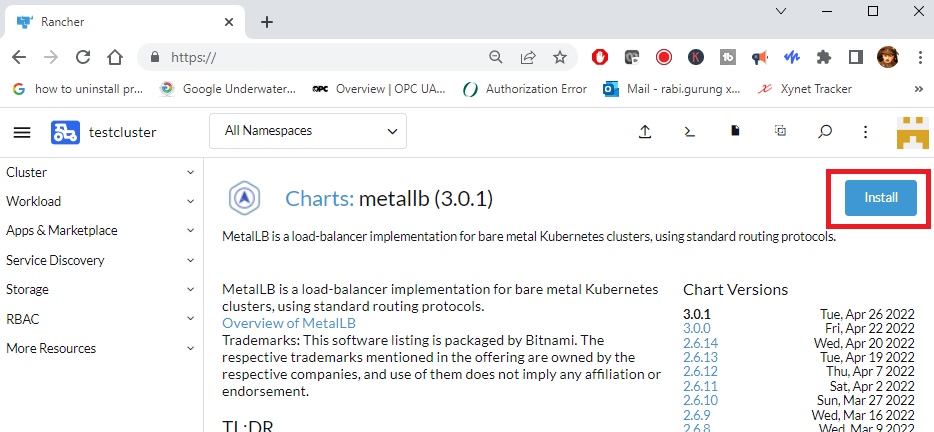
5) Set namespace as “MetalLB”. And enter the installation name for the MetalLB. I have given my installation name as MetalLB. See screenshot below.
After that click on Next button (at the bottom right hand side of the webpage)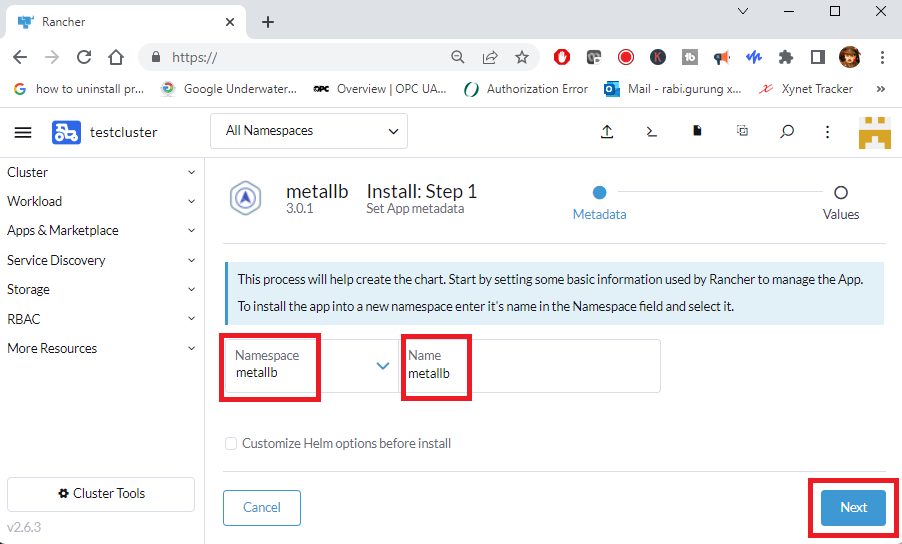
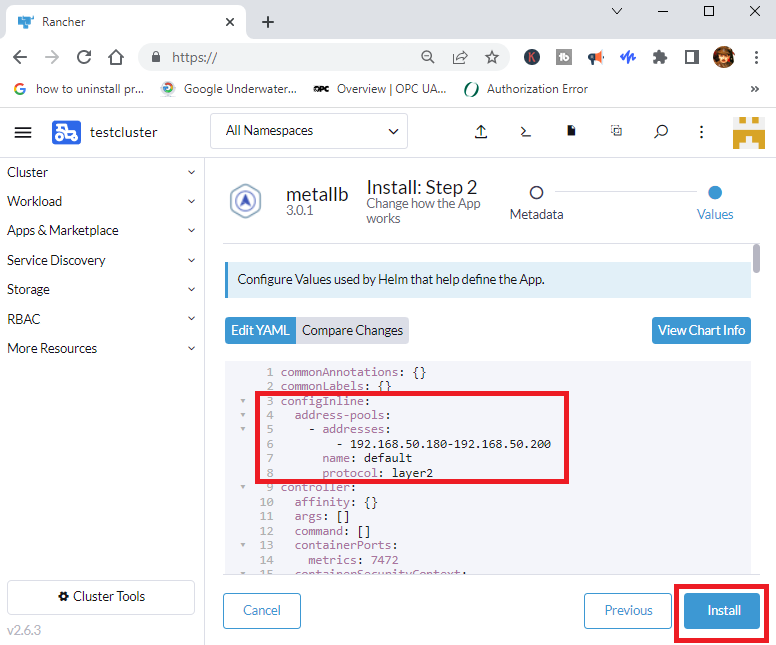
6) Before you proceed to the next step make sure you have a poll of IP address that the load balancer can distribute or assign. You need to assign the IP address pool in the configInline parameter of the MetalLB of the YAML file, as shown in the screenshot below.
Before change.
… after added the poll of IP address. After that, click on Install button.
7) The Install button will change to “Starting…” (as shown in the screenshot below).
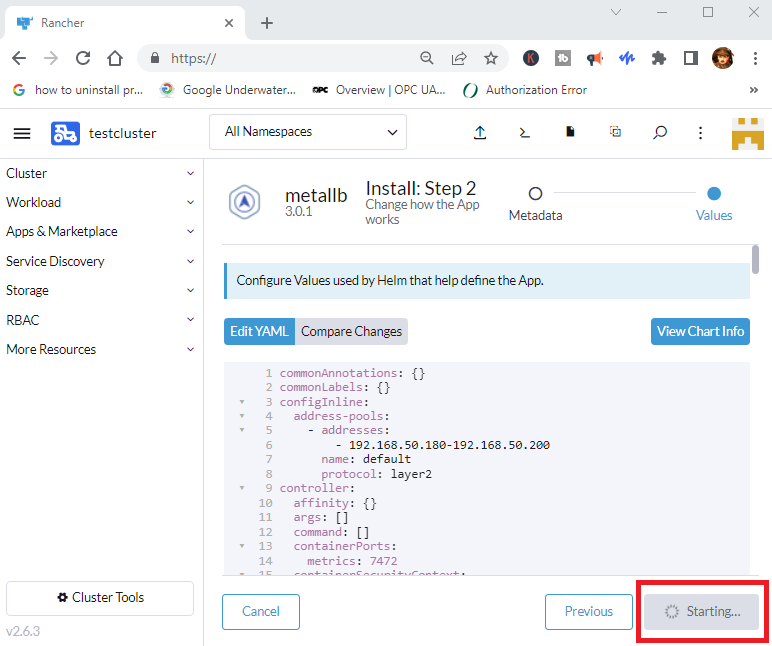
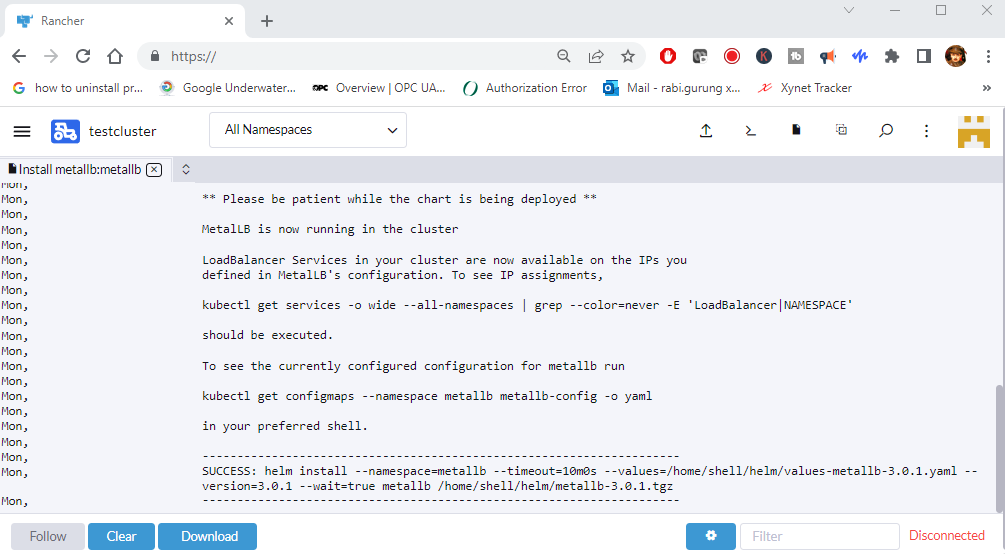
And in a few seconds (or minutes depending on your node computer speed), shell windows will be shown (in the same webpage) to displaying the progress of the MetalLB installation using Helm. Once the MetalLB installation is complete, you will get the successfully install message in the Helm log (as shown in the screenshot below).
Validate MetalLb Is Running Using Rancher Webpage
1) Open your web browser, and launch Rancher.
2) Navigate your cluster, my cluster name for this demo is called “testcluster”.
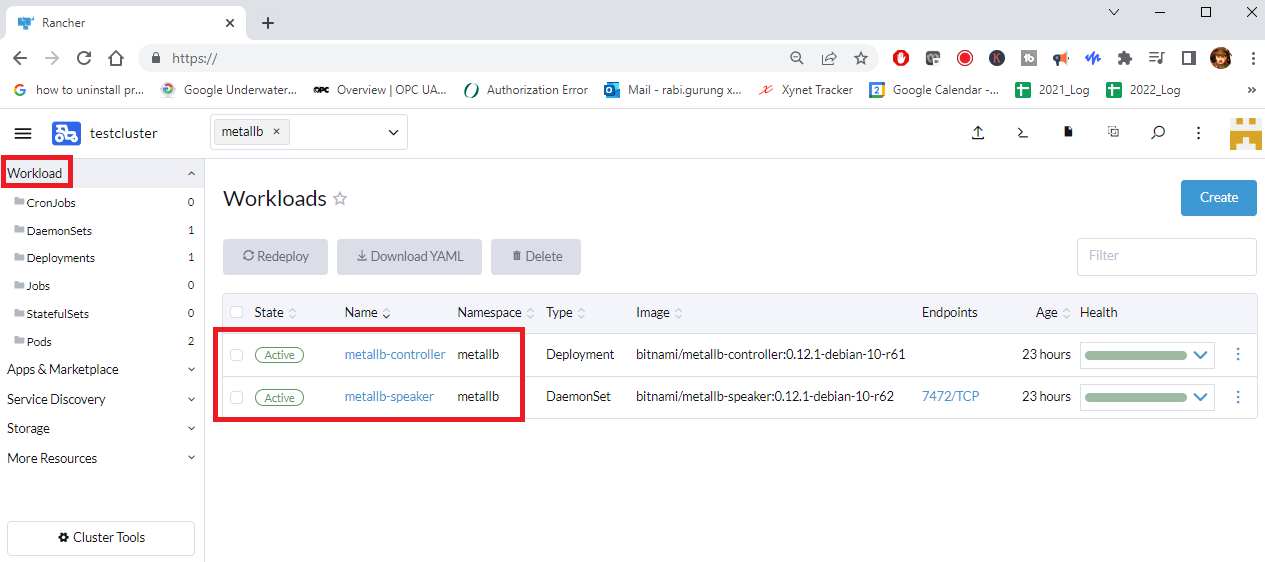
3) Click on Workload and make sure you have two pods for metallb running (as shown in the screenshot below).
| metallb-controller | Handles IP address assignments |
| metallb-speaker | Speaks the protocol(s) of your choice to make the services reachable |
Validate MetalLb Is Running Using Kubectl
1) Open Windows PowerShell or Command Prompt.
2) Type in the following command../kubectl get all -n metallb
Note that my namespace is “metallb”, therefore I am using the namespace flag “-n metallb”. If you have defined your namespace as something else, say for example “metallica”, then your namespace flag will be “-n metallica”.
As you work to create more load balancing pods, you will notice that the metallb-speaker(in yellow box) container will increase in number as it is a daemonset, and will replicate for every load balancing pods. As for the metallb-controllr, will always be 1 container.
Determine IP Address Assigned to Load Balance Pod Using Kubectl
Thats it you are done. Now test that load balancer on your pods.
1) Open Windows PowerShell or Command Prompt.
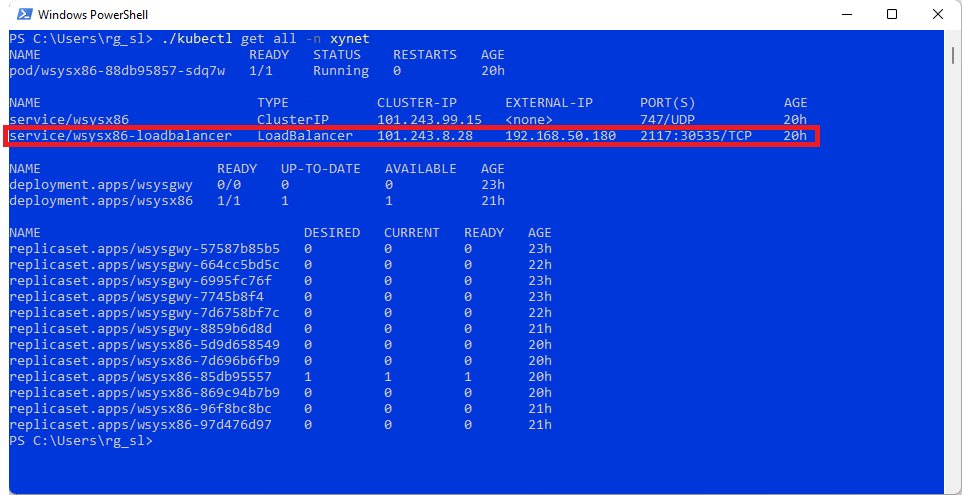
2) Type in the following command../kubectl get all -n xynet
Note that my namespace is “xynet”, therefore I am using the namespace flag “-n xynet”. If your pods that is using the load balancer is in another namespace like say for example “mypods”, then your namespace flag will be “-n mypods”.
What is a DaemonSet?
A DaemonSet ensures that all eligible nodes run a copy of a Pod. Normally, the node that a Pod runs on is selected by the Kubernetes scheduler. However, DaemonSet pods are created and scheduled by the DaemonSet controller instead.
Source DaemonSet
Reference