
After you add a new driver and close the add driver popup window, the RSLinx will automatically start populating the “device” in a tree on the left-hand side of the RSLinx application. However, it is common (sometimes) that not all devices are detected (automatically) due to older EDI driver or for what ever “temperamental” issue RSLinx might be having at that time. That is when you have to manually intervene and enter the IP address. This article will show you how to do just that.
Launch your RSLinx Classic. I have a RSLinx Classic Lite but this procedure works for all version of RSLinx.
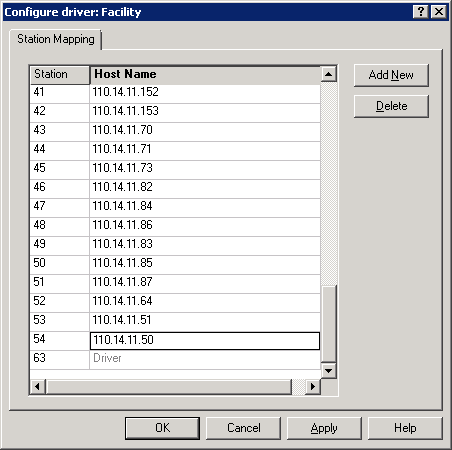
Right-click on your driver and select Configure Driver from the context menu. ofr our example, our driver is call “Facility, Ethernet”.

Enter the IP address of your device (PLC, Panelview, etc.), and once you are done, click on “Apply”. If you have more than one device to add, click on “Add New” button to add more stations. Note that Station 63 is reserved for Driver.
For this demo, we will be adding one device with IP address of 110.14.11.50.
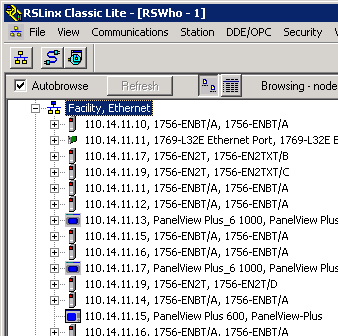
If you are successful (and if you have the correct EDI files installed), you will see your device (as shown below).

If you do not see your device, right click on your driver (for our example it is “Facility, Ethernet”), and select “Remove” from the context menu. RSLinx will automatically, populate the driver (“Facility, Ethernet”) and the device under it.