
This article will show you how you can enable and disable a port in the Stratix 8000 switch.
Disabling a port means that even if you connect an Ethernet cable, the link light on the Stratix will not turn on. Enabled ports will allow communication though the port.
To configure the Stratix switch, open a browser and enter the IP address of the Stratix switch.
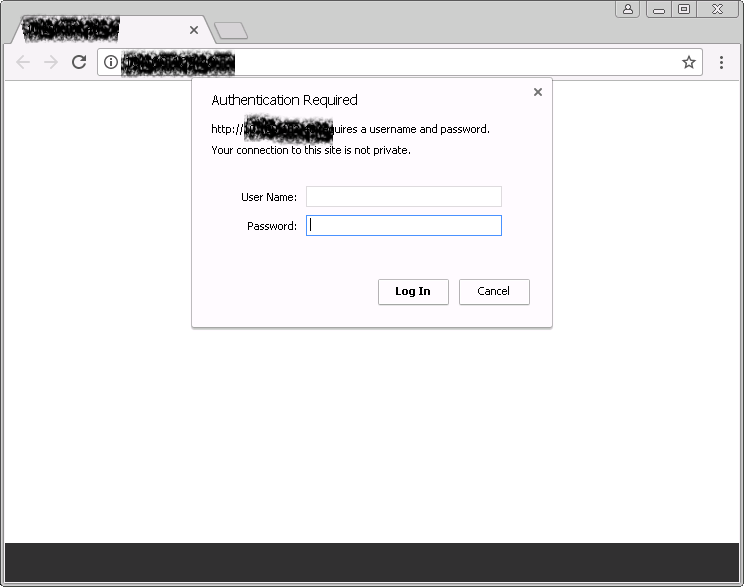
Enter the appropriate password.
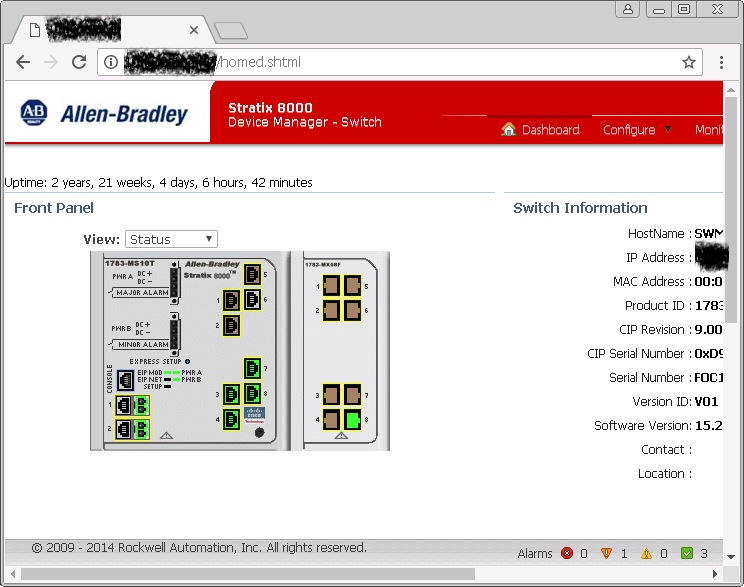
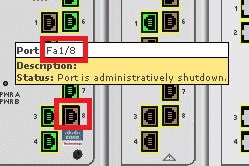
Lets say you want to turn on port number 8. If you put your cursor over it long enough, it will tell you the Port Name which is “Fa1/8” for our example.
The tool tip also tells you that the port is “Administratively shutdown”. Note that port name for now.
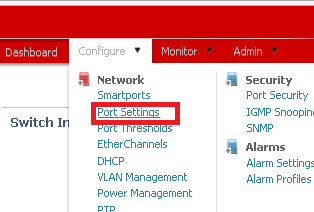
Click on Configure -> Port Settings.
Click on “Fa1/8” and then on the “Edit” icon as shown below.
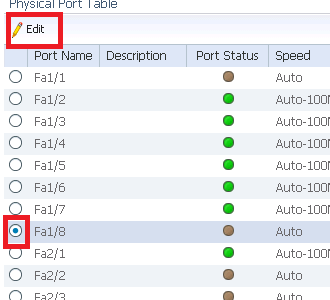
Put a check mark on the “Administrative” check box and click on “Ok” at the bottom of the popup window.

After a few seconds, your port will be enabled as shown below. Check the “Dashboard” (top menu) as well.

To disable a port, just do the same steps but uncheck the check Administrative box.